 Save to Pinterest
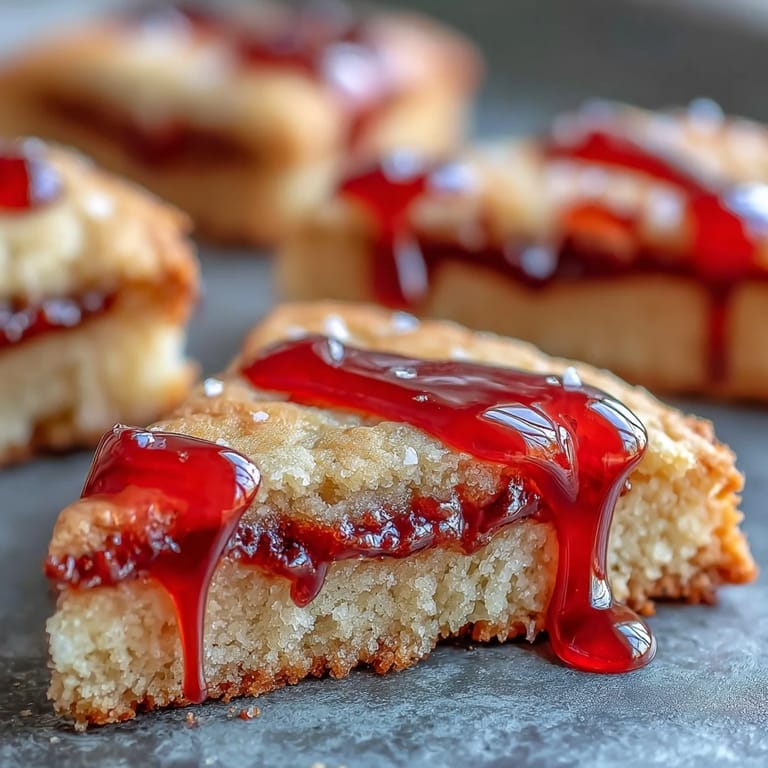
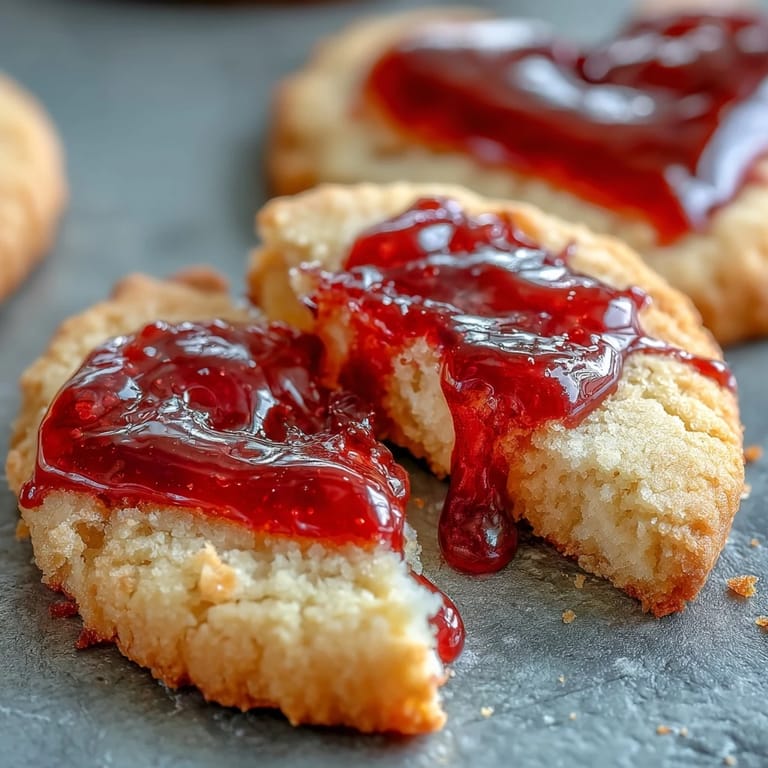
 When the night falls and shadows grow long, these Vampire Bite Sugar Cookies emerge as the perfect spooky treat to celebrate Halloween. Soft, buttery cookies adorned with dramatic fang marks oozing glossy red icing create an irresistibly creepy dessert that's as delicious as it is hauntingly beautiful. Each bite delivers classic vanilla sugar cookie goodness with a theatrical presentation that will captivate guests at any Halloween gathering.
Save to Pinterest These vampire bite cookies combine the nostalgic comfort of classic sugar cookies with playful Halloween creativity. The glossy red icing dripping from the fang marks creates a dramatic bloody effect that's surprisingly simple to achieve. Whether you're hosting a costume party, trick-or-treaters, or just want to embrace the spooky season, these cookies deliver both visual impact and delicious flavor.
Ingredients
Tired of Takeout? 🥡
Get 10 meals you can make faster than delivery arrives. Seriously.
One email. No spam. Unsubscribe anytime.
- For the Sugar Cookies: 2 1/4 cups (280 g) all-purpose flour, 1/2 tsp baking powder, 1/4 tsp salt, 3/4 cup (170 g) unsalted butter (softened), 1 cup (200 g) granulated sugar, 1 large egg, 1 1/2 tsp pure vanilla extract
- For the Red Blood Icing: 1 cup (120 g) powdered sugar (sifted), 2–3 tsp milk, 1/2 tsp light corn syrup (for shine), red gel food coloring
- For Decoration: Black or dark red gel icing (optional, for detail)
Instructions
- Step 1: Prepare the oven and baking sheets
- Preheat oven to 350°F (175°C). Line two baking sheets with parchment paper.
- Step 2: Mix dry ingredients
- In a medium bowl, whisk together flour, baking powder, and salt. Set aside.
- Step 3: Cream butter and sugar
- In a large bowl, beat butter and granulated sugar until light and fluffy (about 2 minutes).
- Step 4: Add wet ingredients
- Add egg and vanilla, mixing until combined.
- Step 5: Form the dough
- Gradually add the flour mixture, beating on low until a soft dough forms.
- Step 6: Shape and arrange cookies
- Scoop tablespoon-sized portions, roll into balls, and place 2 inches apart on prepared sheets. Flatten slightly with your palm.
- Step 7: Bake
- Bake for 10–12 minutes, or until edges are just golden. Cool on baking sheets for 5 minutes, then transfer to a wire rack to cool completely.
- Step 8: Create bite marks
- Use a straw or the end of a chopstick to gently poke two bite marks near the edge of each cooled cookie.
- Step 9: Prepare red icing
- For the icing: In a small bowl, mix powdered sugar, milk (adding a little at a time), corn syrup, and red food coloring until a thick but pipeable consistency is reached.
- Step 10: Apply blood effect
- Using a toothpick or small piping bag, fill the bite marks with red icing, letting it drip slightly for a bloody effect. Optionally, pipe a small trail of red icing from the bites.
- Step 11: Final details
- Add detail with black or dark red gel icing if desired. Let icing set before serving.
Zusatztipps für die Zubereitung
For easier dough handling, especially in warm kitchens, chill the dough for 30 minutes before shaping. This helps prevent spreading and makes rolling more manageable. When creating the vampire bite marks, wait until cookies are completely cool to avoid cracking. Apply gentle pressure with the straw or chopstick to create clean puncture marks. For the glossy blood effect, the light corn syrup is essential—it gives the red icing that fresh, wet appearance that makes the bites look realistic.
Varianten und Anpassungen
Add 1/4 tsp almond extract to the dough for a subtle nutty flavor variation. For guests with dietary restrictions, gluten-free flour blends work as a substitute for all-purpose flour—use a 1:1 ratio. You can also experiment with different colored icings for various themed effects, such as green for zombie bites or purple for mystical creatures. To make the cookies more interactive, set up a decorating station where guests can add their own bite marks and icing blood.
Serviervorschläge
Arrange these vampire bite cookies on a dark serving platter or wooden board for maximum spooky effect. Pair them with hot chocolate topped with marshmallows for a cozy Halloween treat, or serve alongside mulled wine for adult gatherings. They make excellent party favors when packaged in clear cellophane bags tied with black ribbon. For a complete Halloween dessert table, display them alongside other themed treats and dim the lights for atmospheric presentation.
 Save to Pinterest
 These Vampire Bite Sugar Cookies prove that Halloween treats can be both spooky and sophisticated. With their soft, buttery texture and dramatic presentation, they're destined to become a seasonal favorite. Whether you're baking with family, preparing for a party, or simply embracing the Halloween spirit, these cookies deliver frightfully delicious results that will have everyone coming back for another bite—vampire or not.
Questions & Answers About This Recipe
- → What makes these sugar cookies soft and tender?
Using a combination of softened butter, granulated sugar, and a precise ratio of flour creates a soft dough that bakes into tender, buttery cookies.
- → How do I create the bite mark effect on the cookies?
After baking and cooling, gently poke two small indentations near the cookie edges using a straw or chopstick before filling with red icing.
- → What ingredients give the red icing its shine and texture?
Powdered sugar mixed with milk and a bit of light corn syrup creates a glossy, pipeable icing perfect for filling bite marks.
- → Can these cookies be flavored differently?
Yes, adding a small amount of almond extract or other flavorings to the dough provides subtle variations without changing the texture.
- → How should the cookies be stored to maintain freshness?
Store cookies in an airtight container at room temperature for up to several days, ensuring the icing has fully set to prevent sticking.