 Save to Pinterest
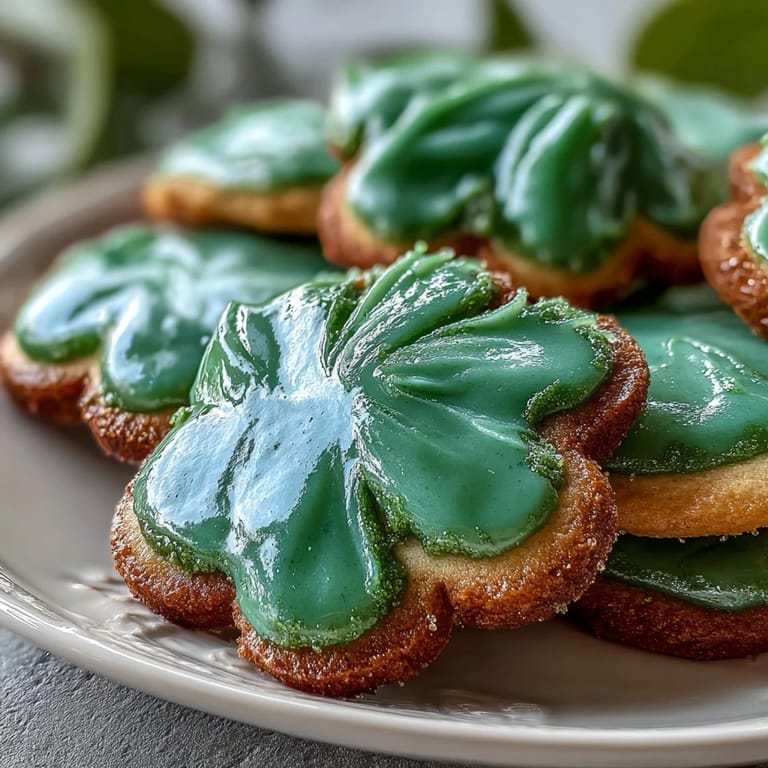
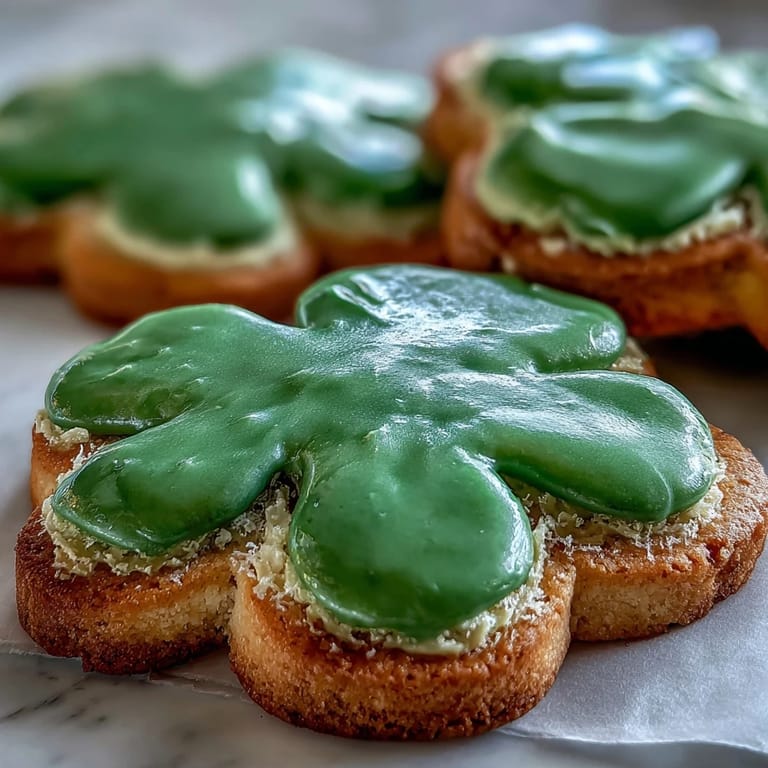
 My kitchen smelled like butter and vanilla the morning my daughter insisted we make shamrock cookies for her entire third-grade class. I'd never piped royal icing before, and the first batch looked more like green blobs than festive decorations, but she didn't care—she just wanted to help. Now, every March when the days start feeling longer, these cookies are the first thing she asks for, and somehow my piping has gotten steadier over the years.
There's something magical about watching someone bite into a cookie you decorated yourself, even if the shamrocks aren't perfectly symmetrical. I remember my mom tasting one of my lopsided attempts and saying it was the best cookie she'd ever had—and I finally understood that homemade means something broken-in and real.
Ingredients
- All-purpose flour: Use fresh flour that hasn't been sitting in your pantry for months, as old flour can make cookies spread unpredictably.
- Unsalted butter: Softened butter is non-negotiable here—it should feel like the skin on your forearm, not melted or cold.
- Granulated sugar: Don't swap this for brown sugar unless you want cookies that taste like caramel instead of vanilla.
- Egg and extracts: Room temperature eggs mix more smoothly, and both vanilla and almond extract create a subtle depth that plain vanilla can't achieve alone.
- Powdered sugar: Sift it before mixing the icing or you'll be fighting lumps the entire time.
- Egg whites or meringue powder: If you're nervous about raw eggs, meringue powder is your friend and works just as well.
- Green gel food coloring: Gel colors are more concentrated than liquid, so a tiny drop goes a long way—start small and add more if needed.
Tired of Takeout? 🥡
Get 10 meals you can make faster than delivery arrives. Seriously.
One email. No spam. Unsubscribe anytime.
Instructions
- Prepare your dry ingredients:
- Whisk flour, baking powder, and salt together in a medium bowl, breaking up any tiny clumps. This step prevents dense cookies and ensures even rising.
- Cream butter and sugar:
- Beat them together until the mixture lightens in color and texture, about 2 to 3 minutes with an electric mixer. This traps tiny air bubbles that make cookies tender instead of tough.
- Add wet ingredients:
- Mix in the egg, vanilla, and almond extract until fully combined. The mixture might look slightly curdled at first, but that's normal.
- Bring it together:
- Gradually add the dry mixture to the wet ingredients, stirring just until no flour streaks remain. Overmixing develops gluten and makes cookies tough.
- Chill the dough:
- Divide it into two disks, wrap tightly, and refrigerate for at least an hour. Cold dough is easier to roll and less likely to spread in the oven.
- Roll and cut:
- Preheat your oven to 350°F while the dough chills. Roll between two sheets of parchment paper to keep things tidy, aiming for an even 1/4-inch thickness throughout.
- Bake to golden edges:
- Place shamrocks on parchment-lined baking sheets and bake for 9 to 11 minutes, watching for edges that just barely turn golden. They'll feel slightly soft when hot but firm up as they cool.
- Cool properly:
- Let cookies sit on the baking sheet for 5 minutes so they set, then transfer to a wire rack to cool completely. Icing warm cookies will melt and run everywhere.
- Make royal icing:
- Beat powdered sugar with egg whites (or meringue powder mixed with water) and vanilla until you reach stiff peaks and glossy texture, about 5 minutes of steady mixing. Stiff peaks mean the icing holds its shape when you lift the beaters.
- Color and decorate:
- Divide icing into bowls and add green gel coloring drop by drop, stirring well between additions. Transfer to piping bags and outline the shamrock shapes first, then flood the interior with thinner icing.
- Set and store:
- Let the icing dry completely, at least an hour, before stacking or packaging. Fully set icing won't smudge or stick together.
 Save to Pinterest
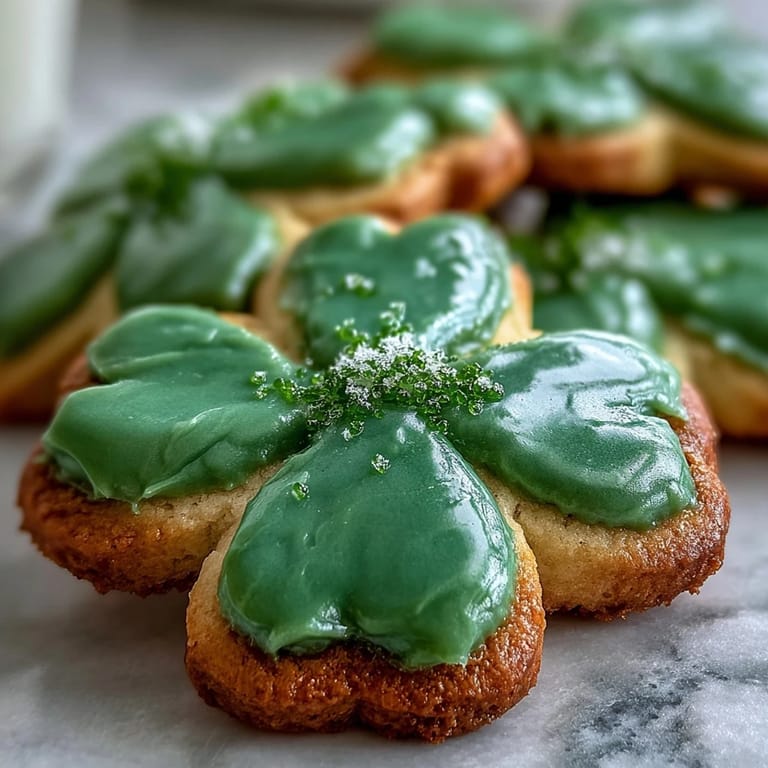
 I learned the hard way that patience with royal icing is worth it when a neighbor knocked on the door after St. Patrick's Day and asked if I'd made those cookies she'd seen pictures of. She came home with four of them, and we ended up talking on the porch for twenty minutes about nothing important—just the kind of moment a good cookie can create.
The Right Consistency Matters More Than You Think
Royal icing has a personality all its own, and getting the texture right changes everything. For outlining shamrocks, you want icing stiff enough to hold a clean line without spreading, but for flooding the interior, you need to thin it slightly with a few drops of water so it flows into corners without lumps. I keep a small bowl of water nearby and adjust as I go, learning to feel when the icing is doing what I want rather than fighting me.
Timing Your Preparation for Stress-Free Decorating
The cookies themselves can be baked days ahead and stored in an airtight container, which takes the pressure off if you're making these for a gathering. The royal icing also keeps covered at room temperature for up to two days, so you could technically ice them the morning of an event. Breaking the project into stages means you're never standing in the kitchen for hours at once, and somehow the cookies taste fresher when you aren't rushing.
Customizing Beyond Green
While green is traditional for St. Patrick's Day, royal icing opens endless possibilities for creativity. You could make white icing with gold glitter for a elegant twist, or create multi-colored shamrocks by dividing the icing into several bowls and letting your imagination guide you.
- If you're decorating with young hands, outline first and let them flood—it feels like coloring inside the lines and keeps mistakes minimal.
- Edible glitter adds sparkle without changing the flavor, and sprinkles stuck to wet icing stay put better than those added after drying.
- Let each batch of cookies cool completely and don't rush the icing—it sets better when you're not in a hurry anyway.
 Save to Pinterest
 These shamrock cookies have a way of turning an ordinary March afternoon into something worth remembering. Whether you're making them for a classroom celebration or just because the day calls for something green and sweet, they're worth the small effort they ask.
Questions & Answers About This Recipe
- → How do I keep the cookies soft after baking?
To maintain softness, avoid overbaking and allow cookies to cool on a wire rack. Store in an airtight container once fully cooled to retain moisture.
- → What is the best way to achieve smooth royal icing?
Beat the powdered sugar and egg whites until stiff peaks form and the mixture is glossy. Sifting powdered sugar beforehand helps avoid lumps.
- → Can I substitute almond extract in the dough?
Yes, almond extract is optional and can be omitted or replaced with extra vanilla extract, especially for nut allergy concerns.
- → How long should the dough chill before baking?
Chill the dough for at least one hour wrapped in plastic wrap; this firms it up for easier rolling and cleaner cookie cuts.
- → What tips improve cookie decoration with royal icing?
Use small round piping tips for outlining and flooding. Let each layer dry slightly before adding details or sprinkles for the best results.
- → Can vegan alternatives be used for the egg components?
Yes, flax eggs can substitute in the dough, and plant-based meringue powder or vegan royal icing recipes can replace egg whites in icing.